Created by the leading US-based cryptocurrency exchange, Coinbase Wallet is quickly becoming a preferred self-custody wallet among users.
It offers a very familiar user experience to existing solutions, which makes the overall transition seamless for those who’ve already worked with a self-custody wallet. Moreover, it carries the reputation and confidence instilled by the Coinbase brand.
Coinbase Wallet was launched in 2018 and has managed to become one of the best self-custody solutions currently available in the market.
Some of its features include but are not limited to:
- Fully-developed mobile application
- Support for major non-EVM compatible cryptocurrencies (Bitcoin, Dogecoin, Ripple, etc)
- Option to transfer assets from the Coinbase CEX quickly and easily
- Fiat on-ramp in all 86 countries where Coinbase operates
In this guide, we will take a closer look at how to set up Coinbase Wallet as a browser extension and on your smartphone.
Coinbase Wallet as a Browser Extension
For those of you who prefer interacting with the vast world of Web3 via PC, installing the Coinbase Wallet as a browser extension is the most logical choice.
To do so, you should install the Coinbase Wallet extension from the Chrome Web Store. Be particularly careful and always triple-check the links you’re downloading the extension from.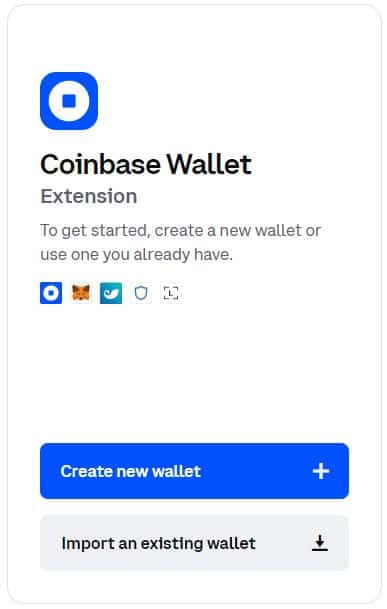
The only official Chrome Web Store link for the Coinbase Wallet extension can be found here.
Once on the landing page, simply click on the “Add to Chrome” button and confirm the installation.
From here, you have two options:
- Create a new wallet
- Import an existing wallet
How to Create a New Wallet?
Let’s first see how to create a new wallet. As soon as you hit the blue button, you will be prompted to create a username. This is how other users can find you and send you cryptocurrency.
Please keep in mind that you won’t be able to change your username after this!
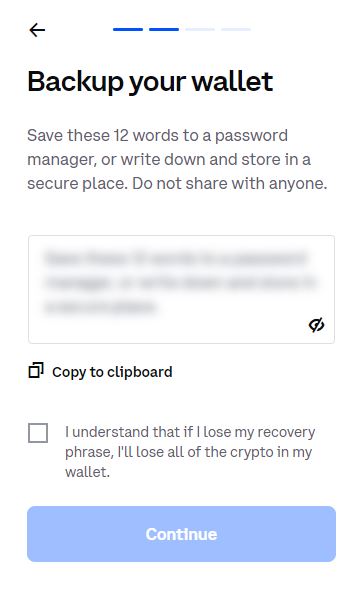
Once you’re happy with your choice, hit submit. Now, you will be given a 12-words seed phrase. Make sure to write these down in the exact order they appear, double-check every letter, and store them safely. Losing this seed phrase means that you will no longer have access to your cryptocurrencies, and there is nothing Coinbase or anyone can do to restore it.
As soon as you have that done, you are ready to continue. The next step is an additional security layer added by Coinbase Wallet to make sure that you wrote the seed phrase down correctly.
You will see a bunch of scrambled words, and you will have to click on the first and the last word from your seed phrase.
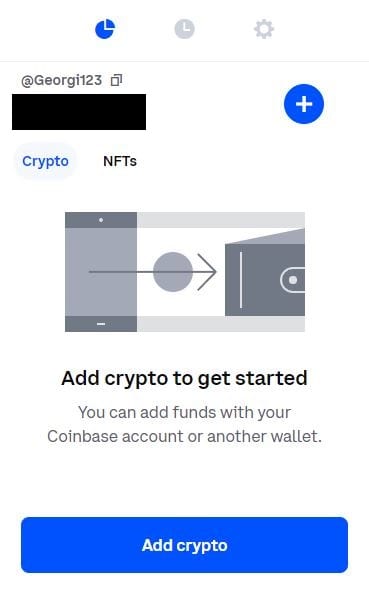
After that, you will need to enter a strong and secure password. It’s recommended that you use lower and upper-case letters, numbers, and special characters for additional protection. Once everything is all set, this is what the extension looks like:
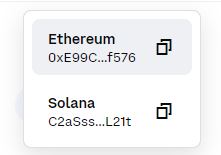
To check your address, simply hover over your name in the top left corner, and you will see both your Ethereum and Solana addresses.
You can send tokens to these addresses from any other wallet to fund your Coinbase Wallet. Additionally, you can also add funds through Coinbase Pay for a seamless fiat on-ramp, as we mentioned at the beginning.
How to Import from Existing Wallets?
For those of you who already have a self-custody wallet but it’s other than Coinbase Wallet, it’s easy to import it and access your funds.
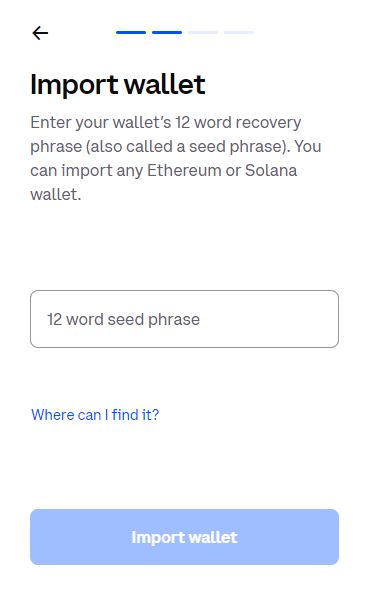
All you need to do is access your secret recovery phrase (seed phrase) for that other wallet. So, for example, if you have a MetaMask wallet that you want to import into Coinbase Wallet, you will have to input the 12-word seed phrase for that MetaMask Wallet.
Once this is done, you will have to select a username and create a password to access the wallet.
You can also import from other wallets such as:
- Phantom Wallet
- Solflare Wallet
- Trust Wallet
- Ledger Hardware Wallet
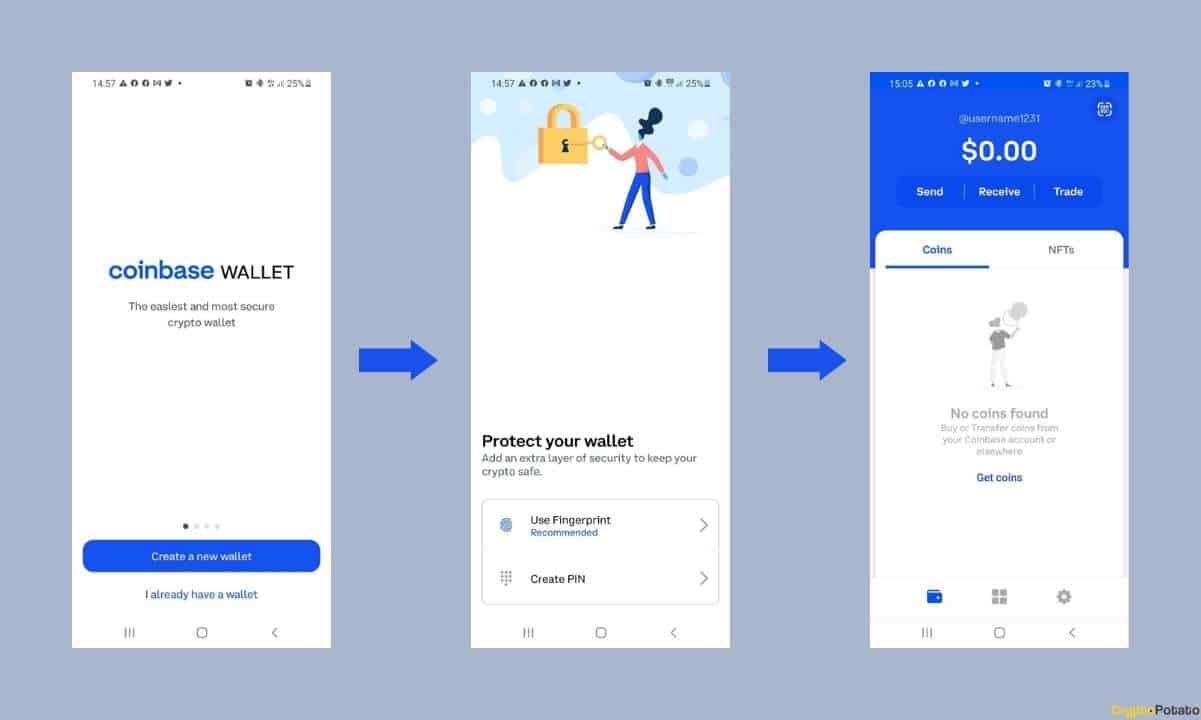
The Coinbase Wallet Mobile App
Using the mobile app is just as easy. You will have to download it first: use either Apple’s App Store or Google’s Playstore, depending on whether you use an iPhone or an Android device.
From there, the steps are pretty similar to the ones described above.
If you want to create a new wallet, you will first have to set a PIN or enable biometrics. Once this is done, you will have to write down your seed phrase to access your wallet.
If you want to import an existing wallet, you can simply follow the steps outlined above as they are similar.
From the Coinbase Wallet mobile app, you can easily send and receive cryptocurrency. You can also connect your Coinbase account to transfer assets quickly and securely.
The mobile app also allows you to trade different cryptocurrencies through an integrated DEX application, making it easy and quick to access various assets.
There’s also an NFT tab that allows you to navigate through your collections of various non-fungible tokens.
This is pretty much everything you need to know about setting up your Coinbase Wallet. Once you have all of the above done, you can begin interacting with various Web3 applications that require some sort of self-custody wallet connectivity.
